06-Write SUPER Original System
Advanced workflow. Use this only if you explicitly need the SUPER system path. Beginners should first complete 03-Installing Jetson Environment.
This tutorial supports upgrading SUPER from Jetson Orin official kit and Jetson Orin SUB kit. After upgrading SUPER, only the pure system is retained, and some tutorial board cases may not run.
The startup behavior of Jetson boards depends on JetPack version compatibility. Mismatched versions may fail to boot.
The tutorial uses a VMware Ubuntu 22.04 virtual machine for demonstration.
1. File Download
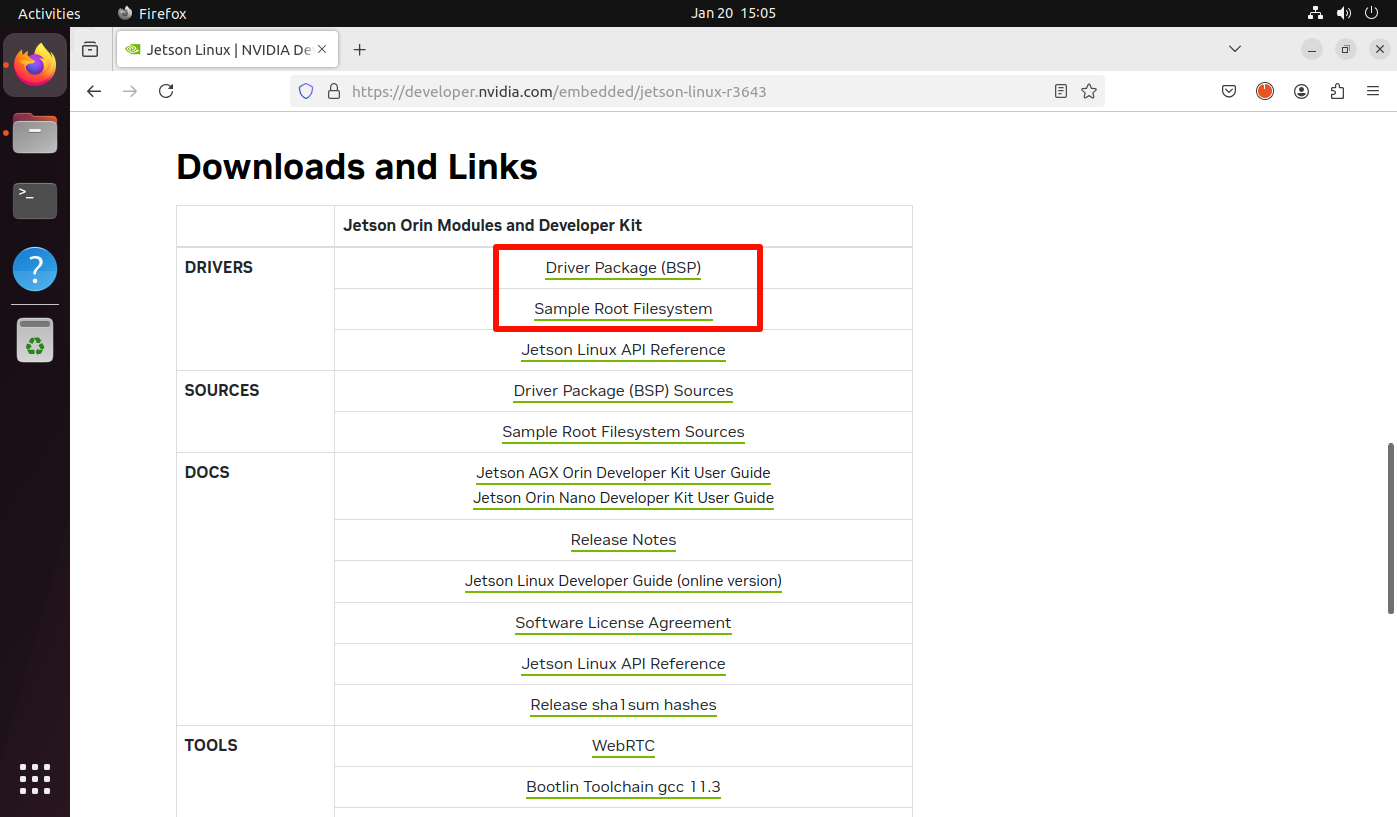
Official page: Jetson Linux R36.4.3
NVIDIA Jetson Linux 36.4.3 corresponds to JetPack 6.2.
Download both:
- Driver Package (BSP)
- Sample Root Filesystem
2. Flashing Mode
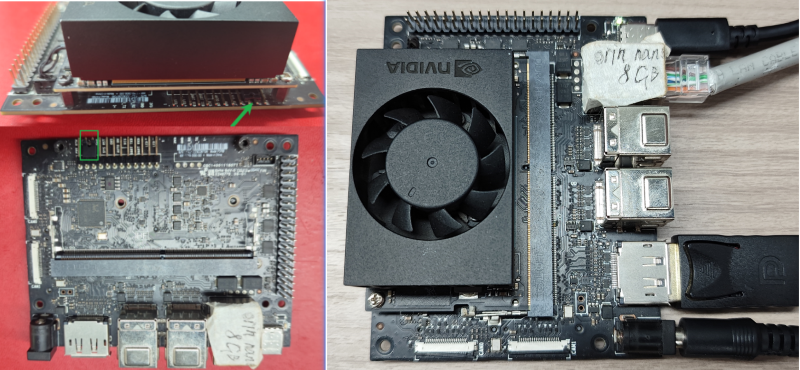
2.1 Hardware Connection
Use a jumper cap to short FC REC and GND under the core board.
Connect DC power, DP cable, Ethernet, and Type-C to the host.
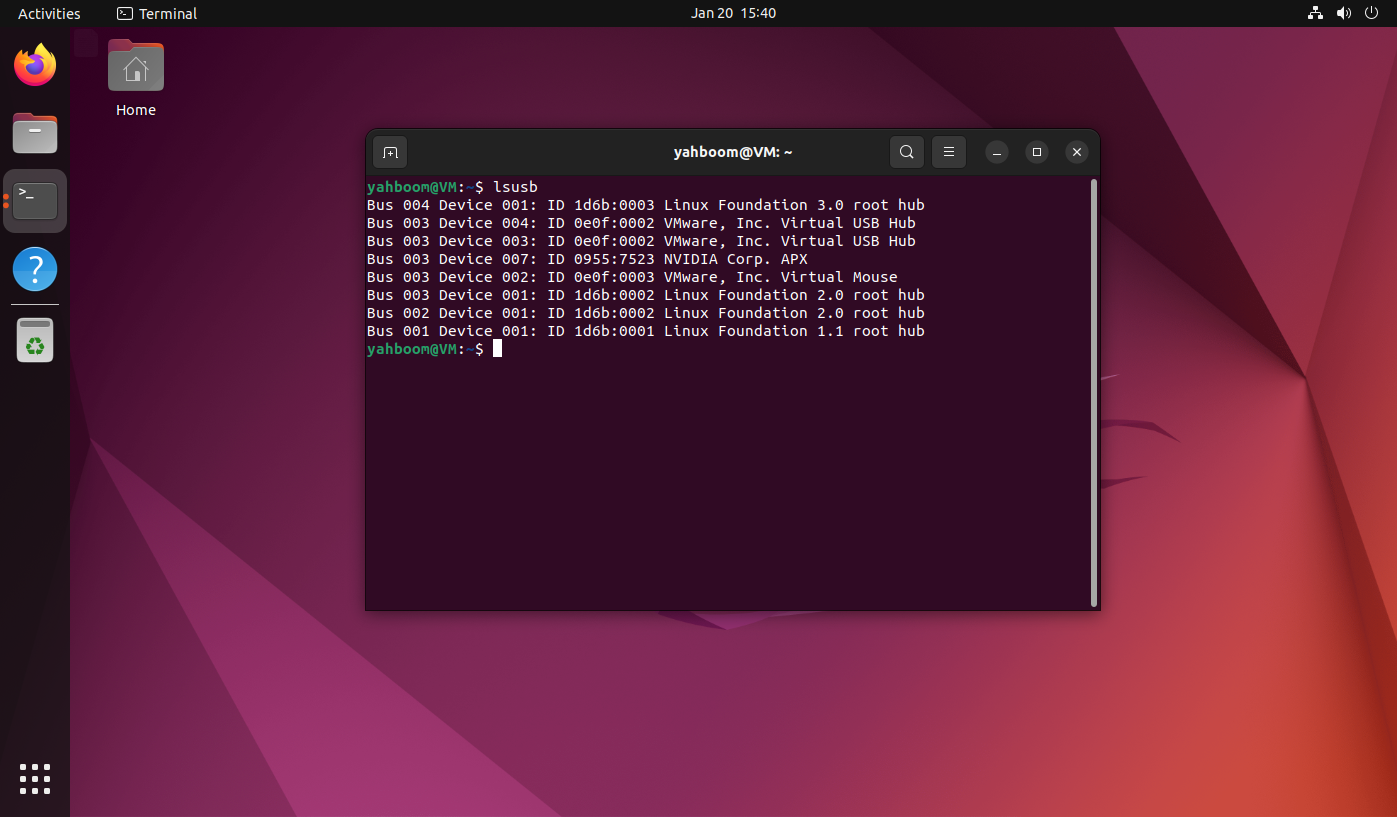
2.2 Software Connection Check
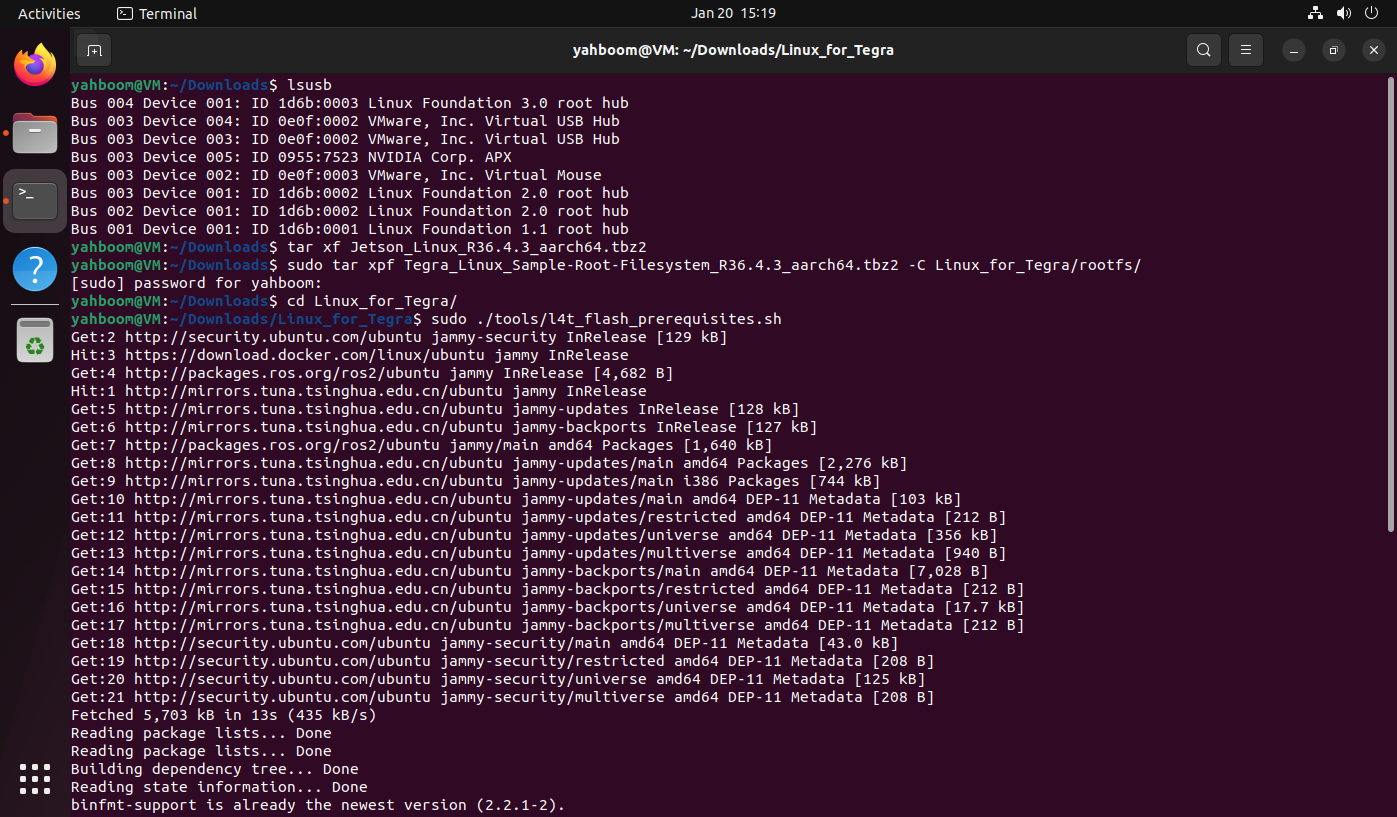
Verify APX visibility on host:
lsusb
3. Flash System
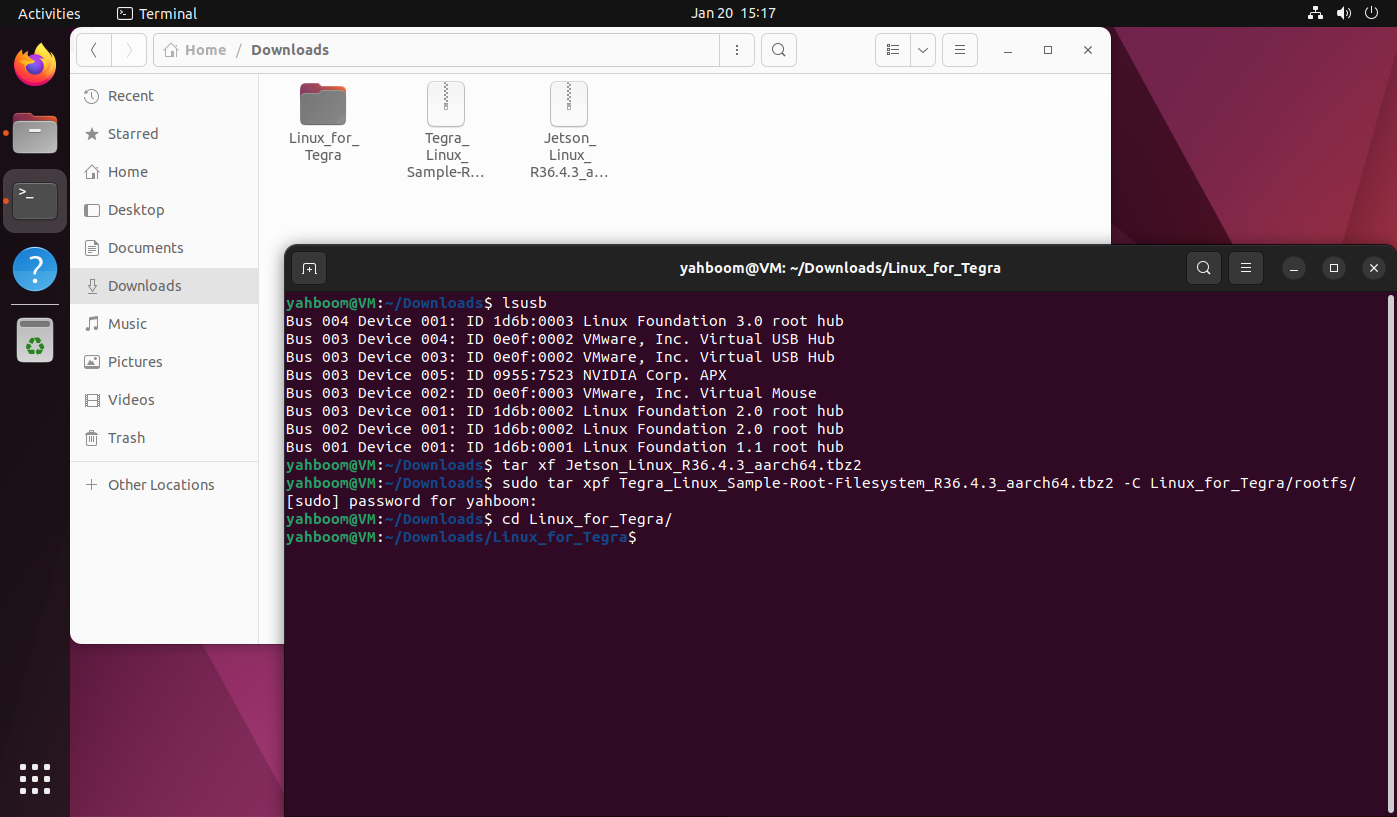
3.1 Unpack Files
tar xf Jetson_Linux_R36.4.3_aarch64.tbz2
sudo tar xpf Tegra_Linux_Sample-Root-Filesystem_R36.4.3_aarch64.tbz2 -C Linux_for_Tegra/rootfs/
cd Linux_for_Tegra/
3.2 Run Prerequisite Scripts
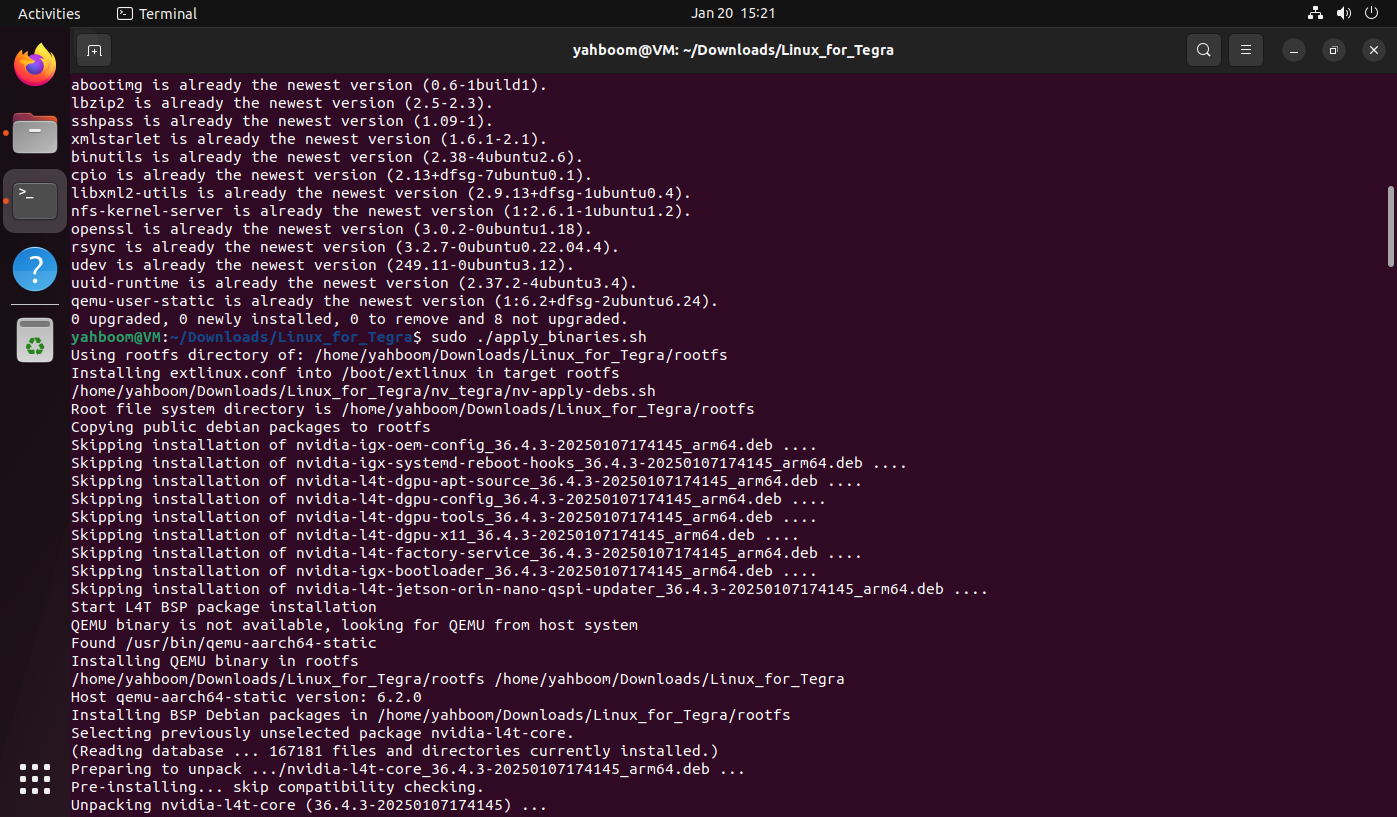
sudo ./tools/l4t_flash_prerequisites.sh
sudo ./apply_binaries.sh
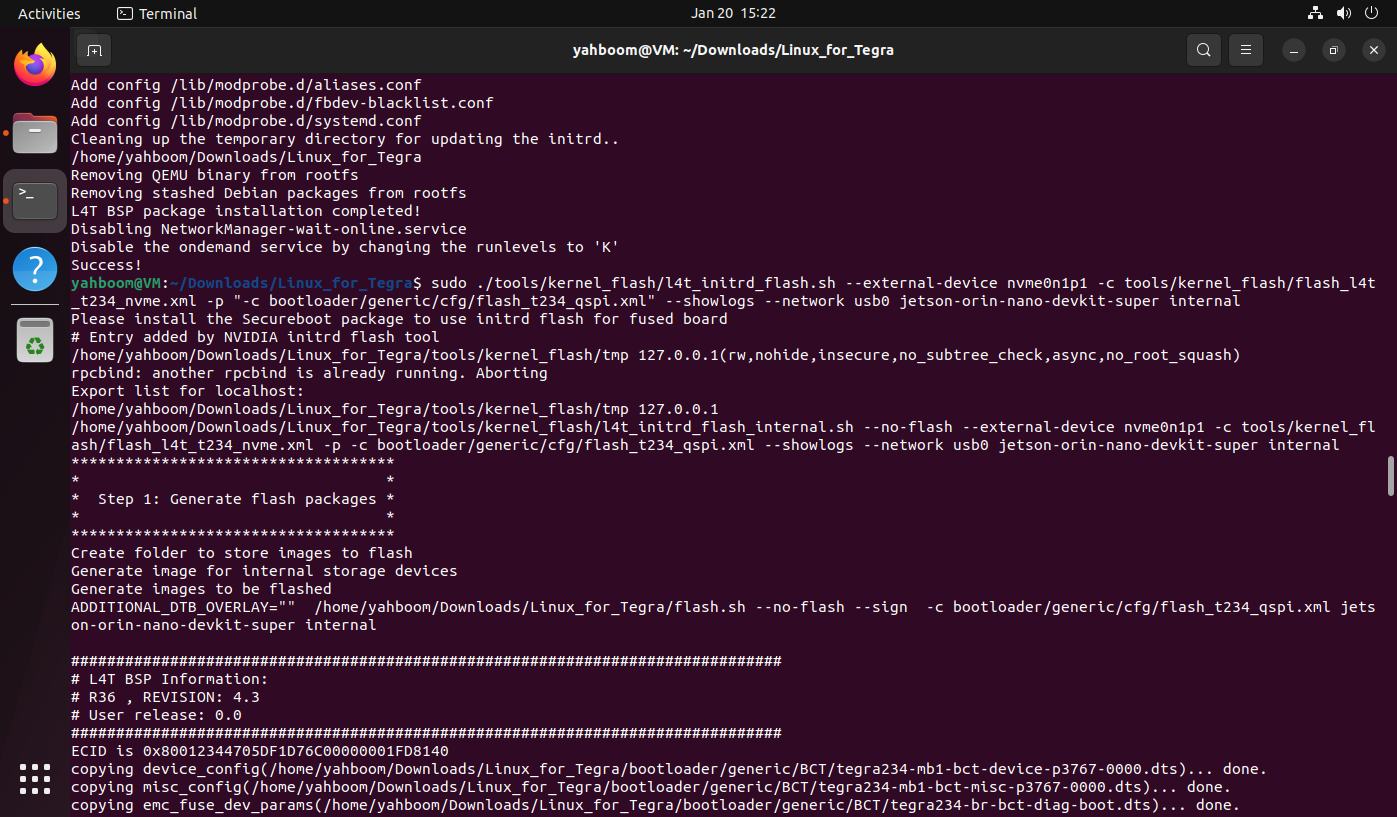
3.3 Flash to SSD
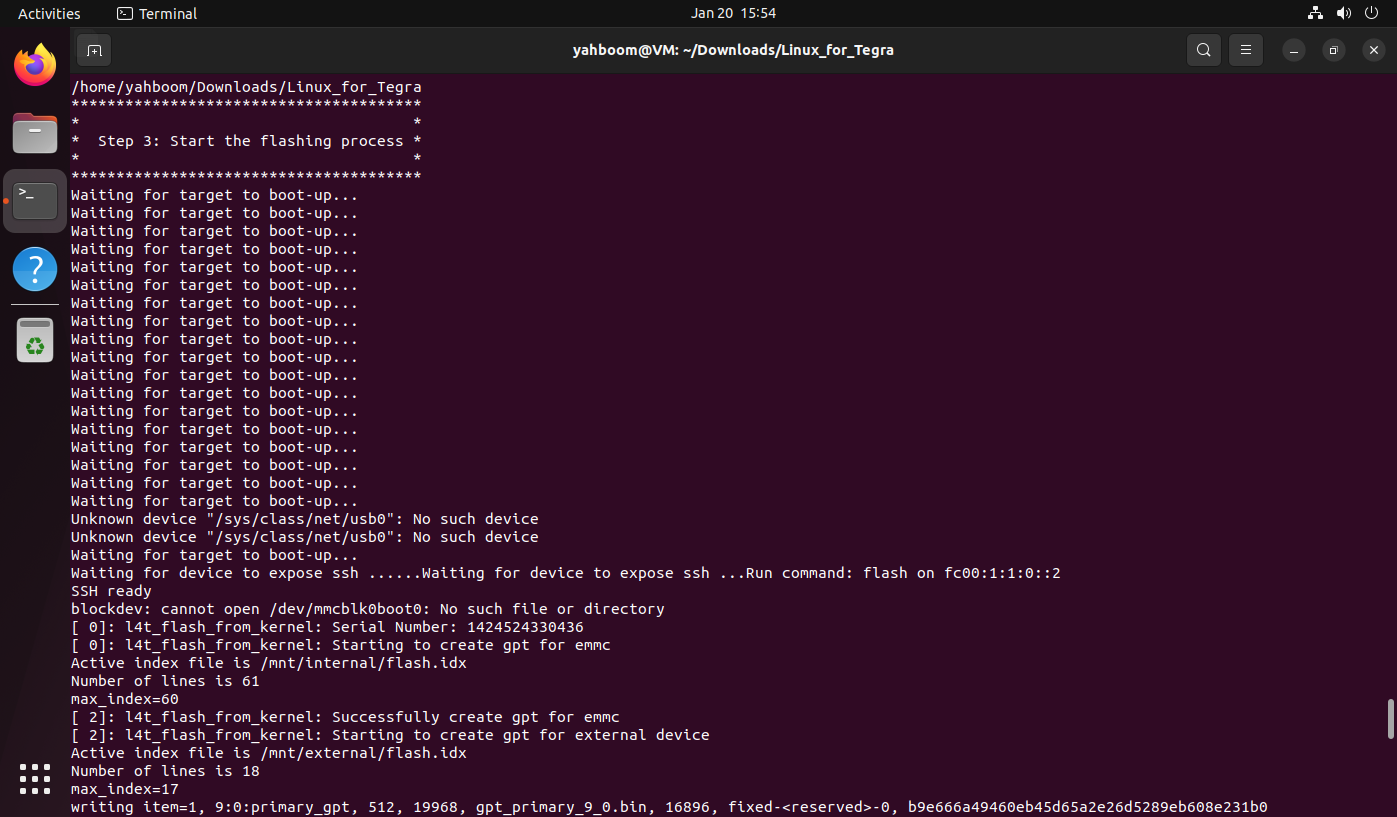
sudo ./tools/kernel_flash/l4t_initrd_flash.sh --external-device nvme0n1p1 -c tools/kernel_flash/flash_l4t_t234_nvme.xml -p "-c bootloader/generic/cfg/flash_t234_qspi.xml" --showlogs --network usb0 jetson-orin-nano-devkit-super internal
Both Jetson Orin Nano and Jetson Orin NX can use this command to flash SSD in this workflow.
During flashing, keep the USB connection attached to the VM to avoid timeout.
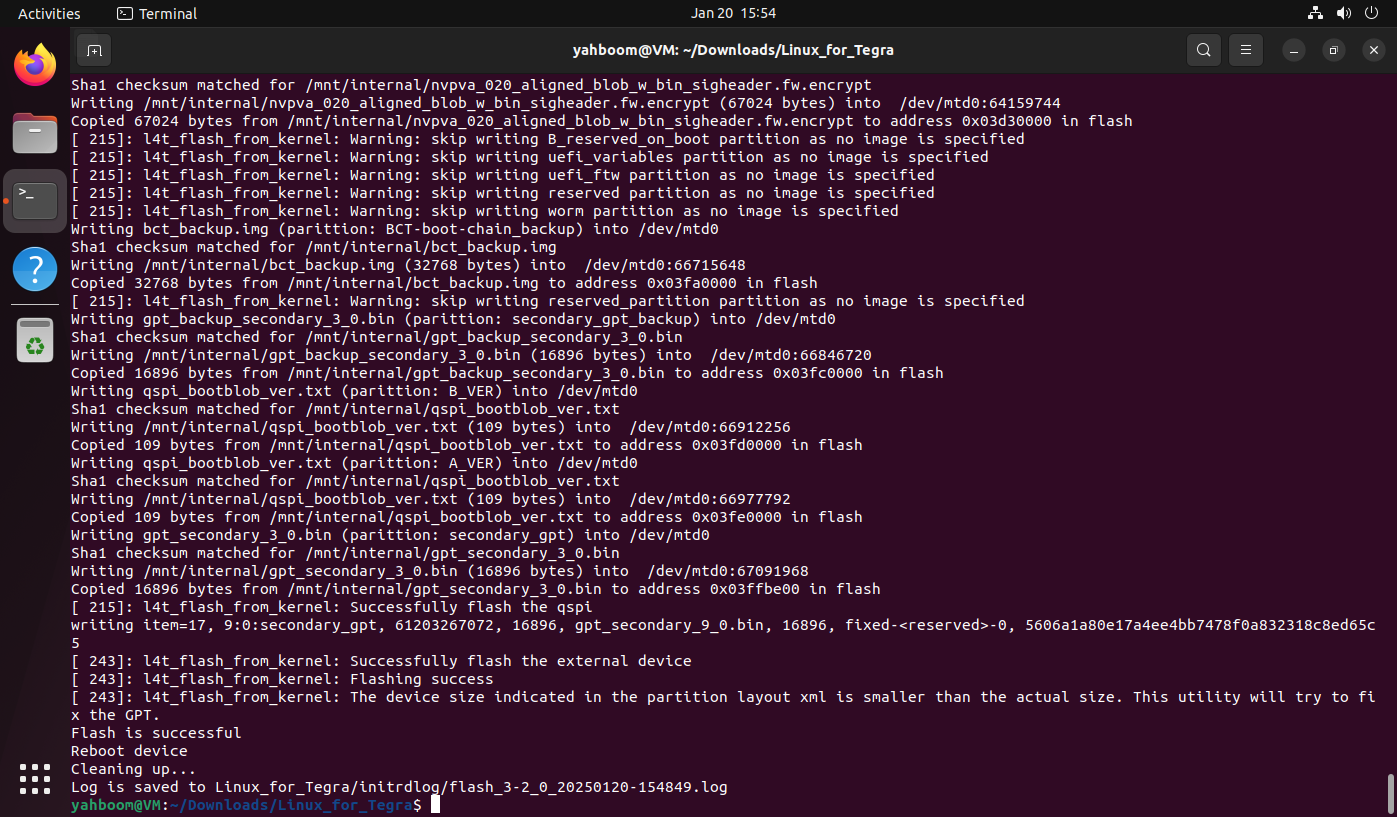
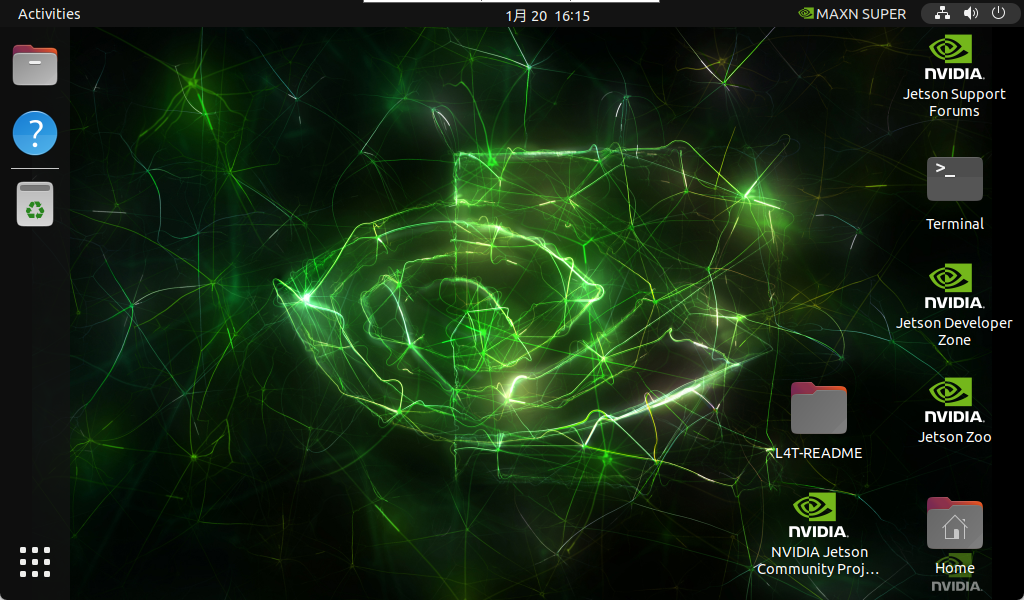
4. Boot the System
After flashing:
- Disconnect DC and Type-C.
- Remove FC REC/GND jumper.
- Reconnect DC and DP.
- Boot and finish first-run setup.
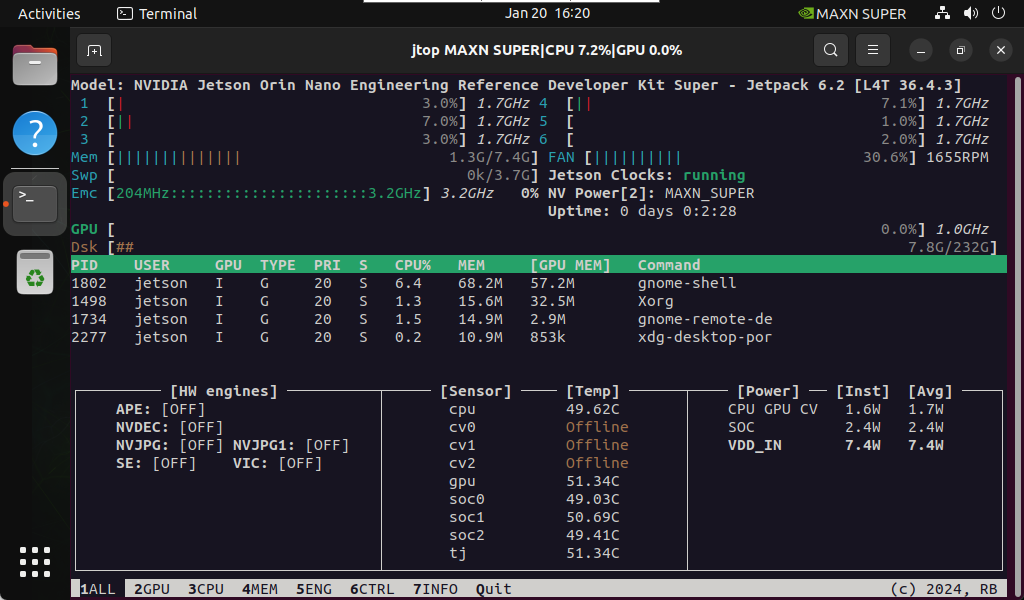
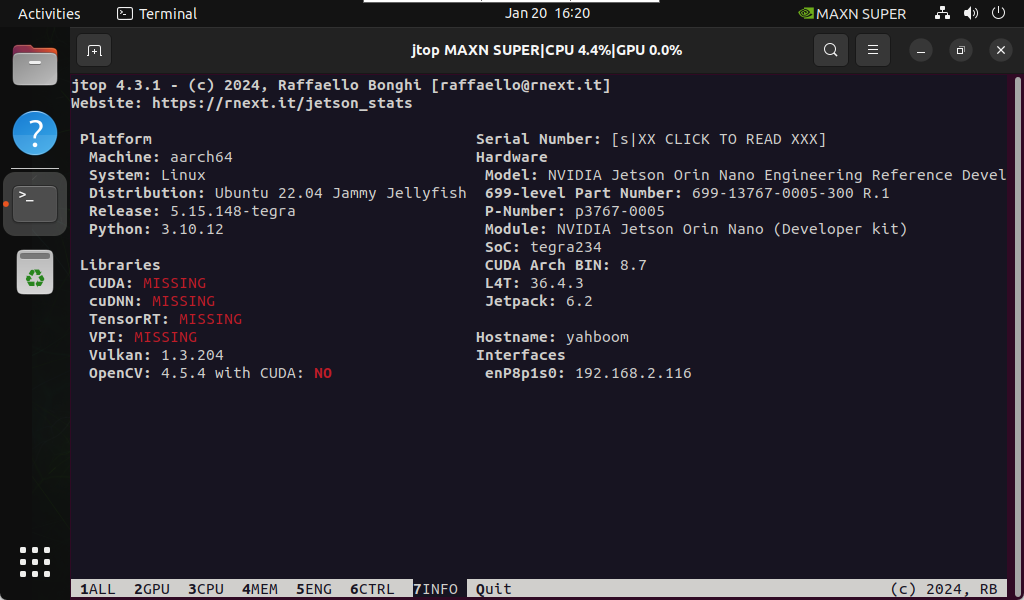
5. Install Jetson Components
A pure flashed system does not include all CUDA/TensorRT components by default. After boot, continue with:
03-Installing Jetson Environment